
Would you believe me if I said that building picture frame molding is *easy*?? It's true! The hardest (and most annoying!) part of this whole project was filling each tiny little nail hole and caulking everything. Here's my entire Office Reveal Post, in case you missed it! First, sorry for these terrible photos below...they're all screenshots from videos! Lol here's a before/after video of my office and a sped up look at the molding DIY!
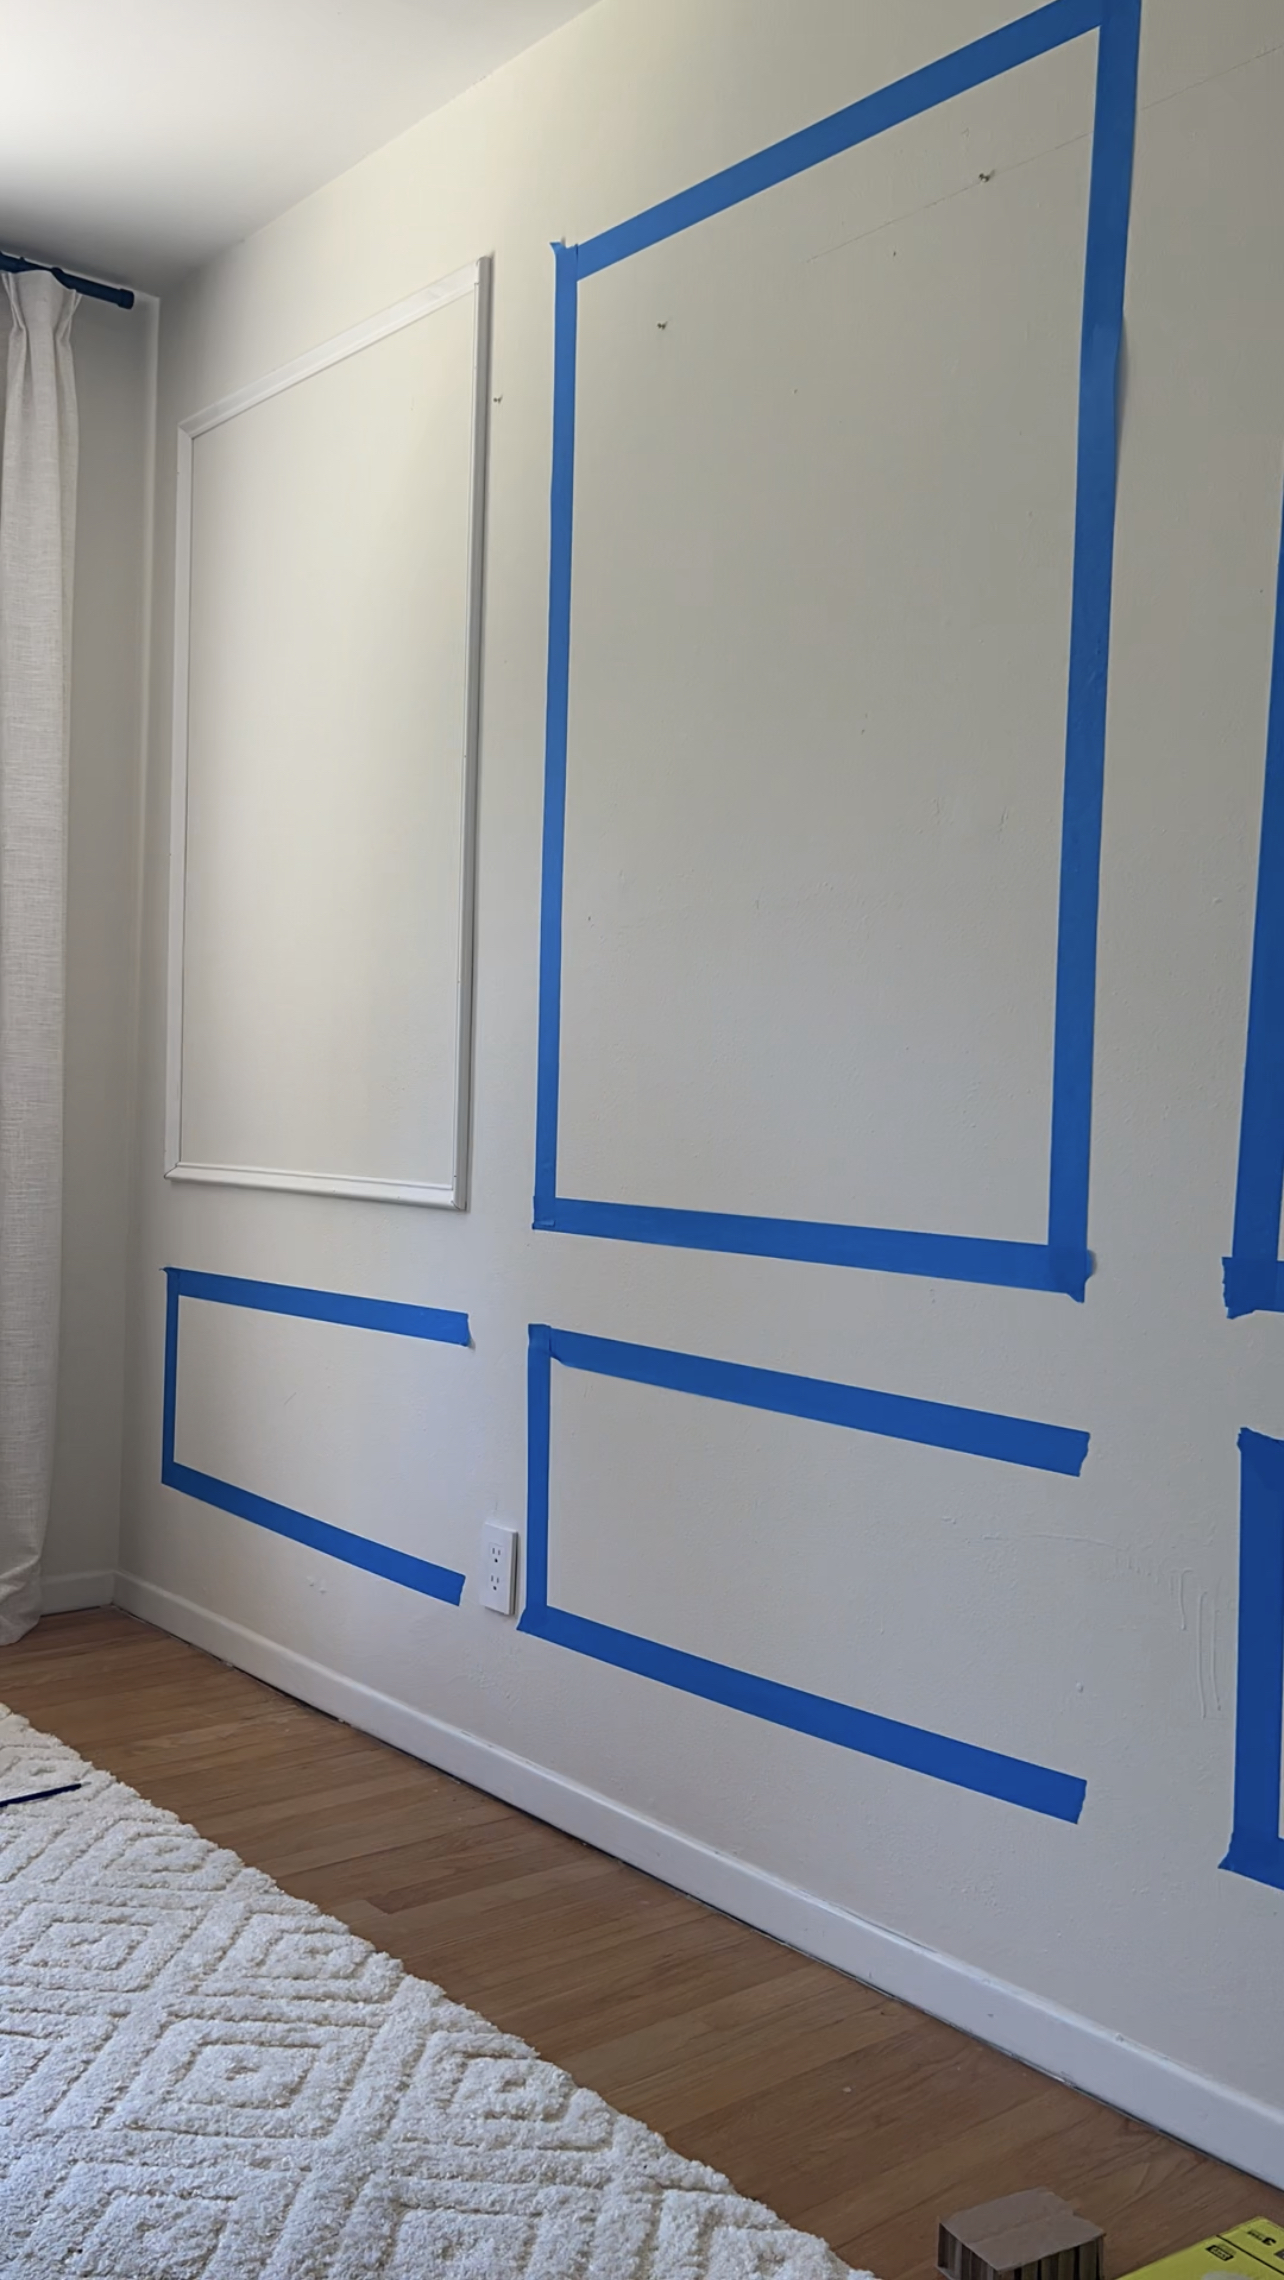
I knew I wanted to try picture frame molding, and I'm so happy that I did! Weeks before I was ready to start building, I looked at different designs, tested spacing, and taped a mock-up of the boxes I wanted on my walls using blue painters tape. That was a great idea...until I had to leave it up there for weeks before I could finish the project! (lol)
I originally tried to cut my molding using "miter shears" (fancy scissors for molding) but my molding ended up being too wide and the shears couldn't handle it...I thought about a few other options, but ultimately decided to stop wasting time and ask around to see if any friends had a miter saw I could borrow. Tbh that's a big ask...miter saws are *large* and not super easy to transport, but luckily a friend of mine had one that he wasn't using and agreed to drop it off. Praise the Lord. After that, the project started moving a lot faster! ;)
Moral of the story: if you have access to a miter saw, use it! :) So, here's how I built my picture frame molding!
Supplies:
- miter saw (I borrowed one to try it for the first time, but have my eye on this one!)
- desired molding (I used this molding)
- brad nailer - I have this brad nailer and love it
- 2" brad nails (depends on the thickness of your molding - I used these)
- caulk (I used this caulk)
- caulk gun (I used this one)
I legit just made it so easy to add all of those things to your HD cart and then do curbside pickup- you're welcome! ;)

Figure out the design
The shape and size of your boxes, as well as the shape of your molding (thickness, taper, etc.) Map it out on the wall to visualize what it will look like. I had multiple sketches all over post-it notes lol!
Watch for outlets, vents, light switches, routers....I did a great job on the first wall but then I decided to make a change mid-project on the second wall without double checking all of my measurements and ran into a problem with an outlet! It ended up working out, but could have saved myself some time and headache if I had done it correctly from the beginning.
Time to do some math!
Now it's time to measure all of those lengths and widths and get an estimate of how much molding material you actually need to purchase.

Make your cuts!
If it's your first time using a miter saw (safety first!!), start with a couple practice cuts. You'll use the 45° setting and the -45° setting to make your cuts - those are the only two angles you'll use. If you need a straight edge to connect with an outlet or a vent, you'll use the 0° setting. I recommend watching some youtube tutorials on miter saw angles if you haven't used one before.
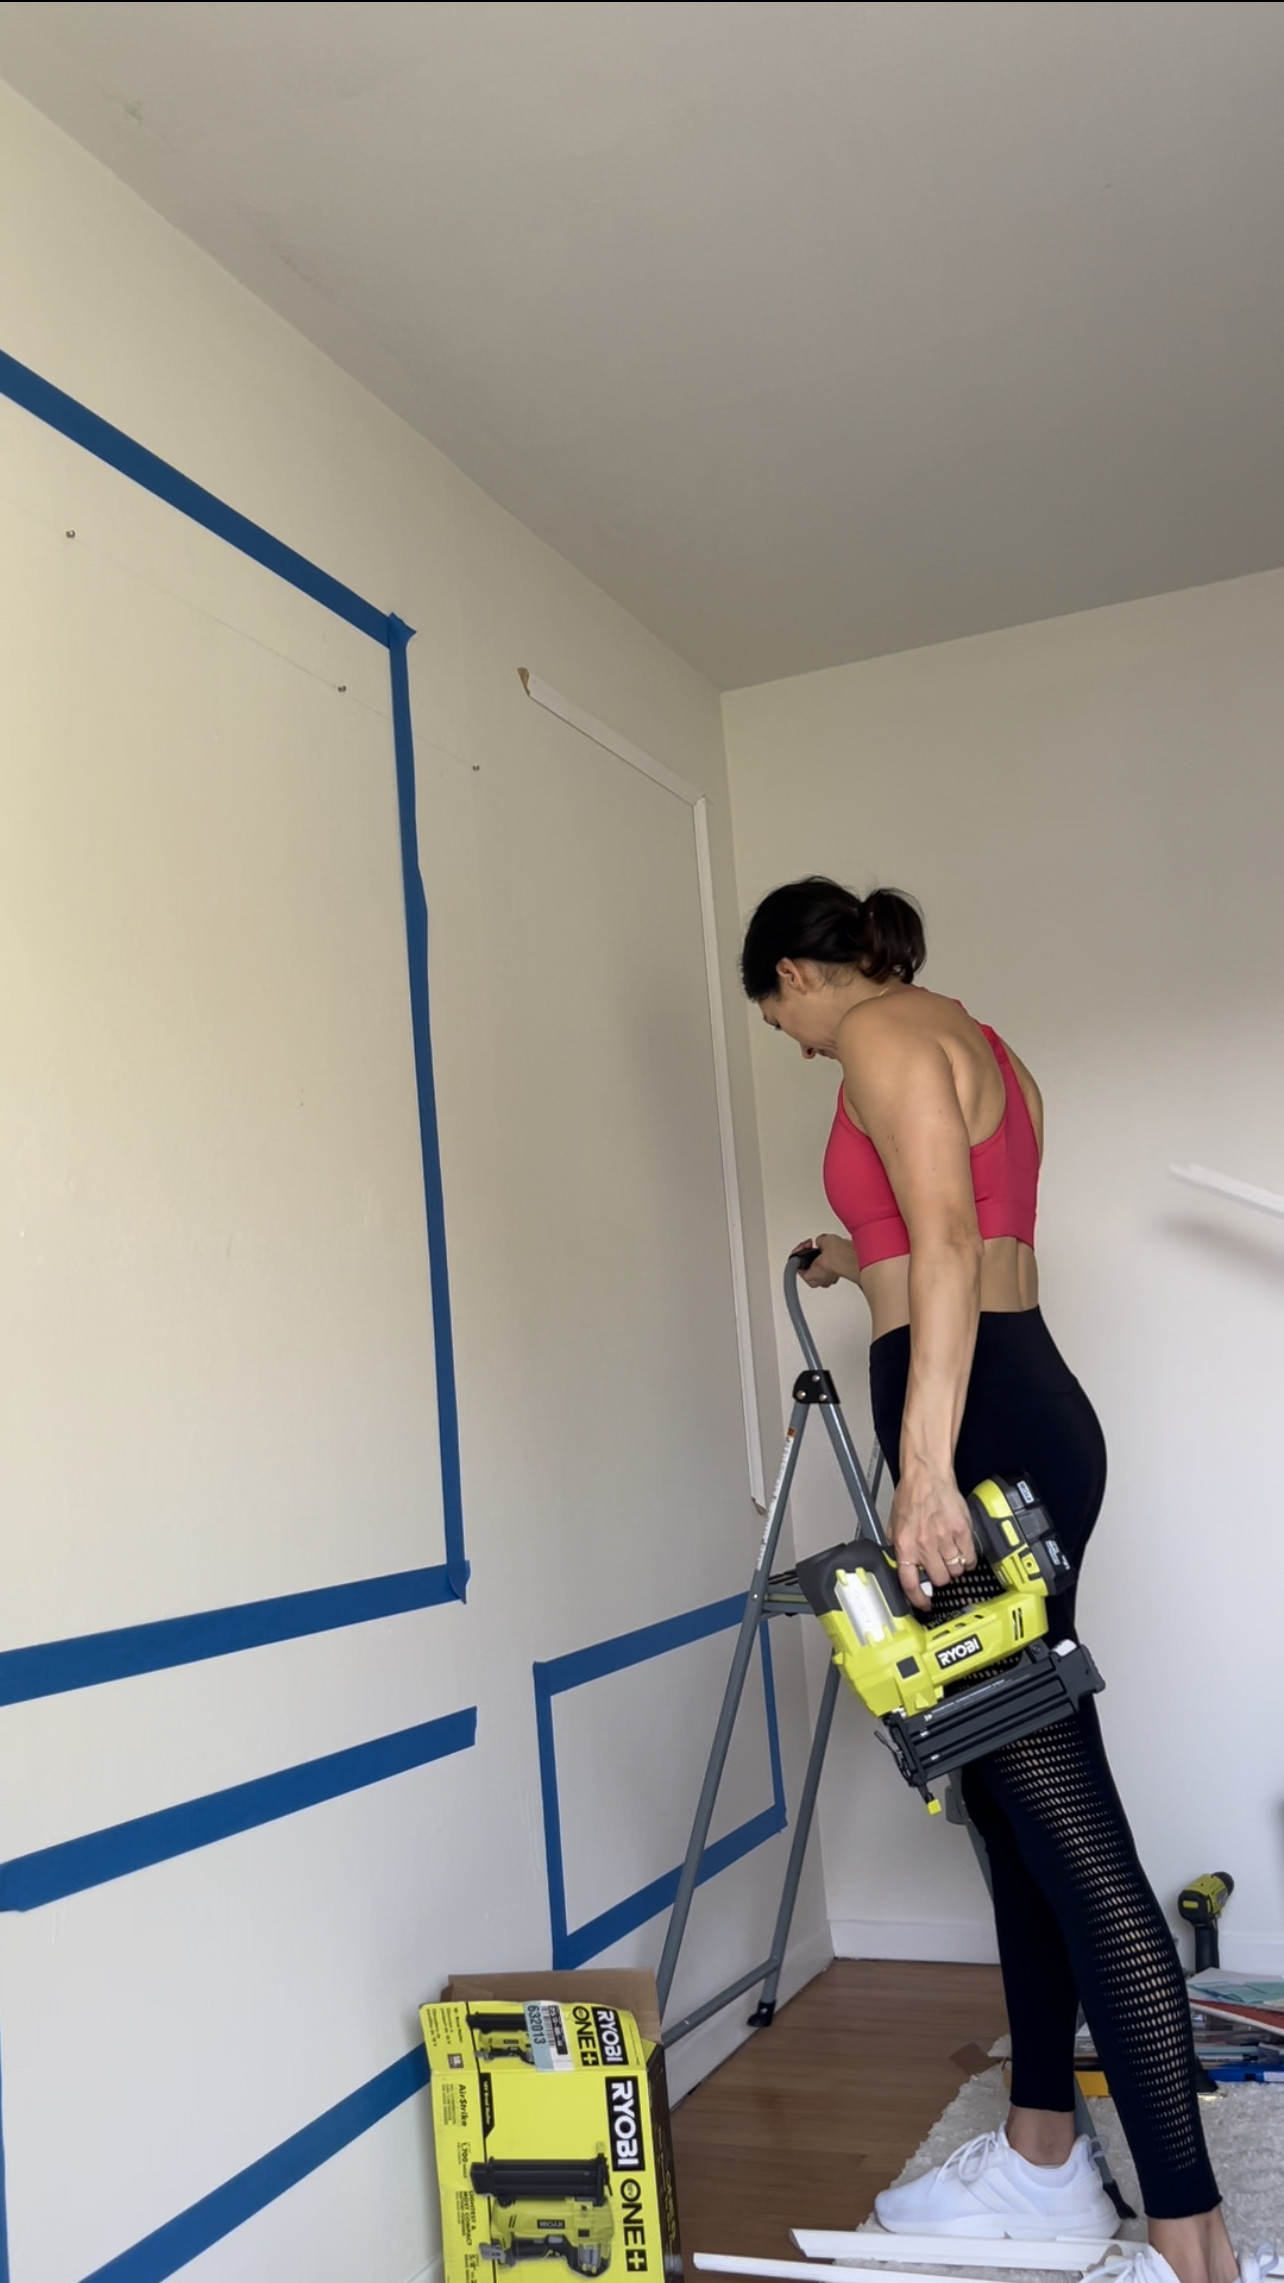
One of my walls was going to contain boxes of all the same measurements, so I started there. I made my cuts then brought my molding pieces in to match them up, make sure they were level, then use a brad nailer to attach to the wall.
I just bought this electric brad nailer and loooove it. It's fairly heavy, but so much easier than a hammer and nails or having to use an old school air compressor with a cord. I've been buying the Ryobi brand of power tools and love them. It's best to stick to one brand because your battery and charging cable are interchangeable. Most power tools don't come with a battery - they assume you already have one. ;) So far, I have the Ryobi drill, brad nailer, and over the weekend while working on a window frame, I found the Ryobi retractable saw (basically replaces an old school manual saw) on sale for $59 so I snagged it! So nice to have!
Making cuts went pretty quickly once I got the hang of it. It was my first time to use a miter saw, so I was super proud!
Start assembling your boxes!
This is where having a helper comes in handy! My husband was great at making sure each piece of molding was level and holding it firmly in place while I used the brad nailer to attach it to the wall.
This part of the project took around 2 hours. We got down to the last few pieces and I had to adjust a few of the pieces to be longer or shorter - the miter saw is such a huge blade that it doesn't make super precise cuts, so I had to redo a few....all part of the process.
Congrats, your boxes are on the wall!
This is where I got stuck. My molding was white and with the right Instagram filter, matched my wall color pretty well, so there was less incentive for me to caulk and paint them right a way!
My advice? Invite a friend over for a caulking and painting party and knock it out right away! ;)
When I finally caulked everything, it looked sooo good. If you're thinking about skipping the caulk, don't! That's what really makes the molding look custom, high-end, and gives the polished look that (I imagine) you're going for.
Caulking
If you've never done this before, watch a few youtube videos before getting started! I always recommend this! Run a thin bead of caulk between all of your molding edges and the wall (one at a time). Here was my caulk process: caulk one box, dip your finger in a cup of water and smooth caulk, wipe finger on wet paper towel. Repeat.
The tricky part of caulking for me was the corners where the miter joints meet up. I don't know why, but it was tough for me! Ha! I ended up adding more than needed and wiping away the excess with a wet paper towel. Same for all of the small brad nailer holes on the molding.
I thought I would need a lot more caulk than I did. I ended up using one tube of caulk...I bought four. Lol it's fine though because I'm about to use it on a window project and baseboards!
Time to Paint!
Congratulations on finishing the caulking! I thought I was done and then realized I missed a few holes so had to go back....double check everything before tossing your caulk!
I painted my molding the exact same warm white and matte finish as my walls, which is Snow Bound by Sherwin Williams.
I think I answered most of the questions I got, but I'm happy to answer any questions to help you! DM me @rhondajenkins.